
Taking the leap and booking your very first neurotoxin treatment—whether you choose Botox or Dysport—can feel equal parts exciting and nerve-wracking. Social media is flooded with unfiltered opinions, dramatic before-and-after photos, and unfortunately, a lot of misinformation that makes the process seem way more intimidating than it actually is.
If you are currently sitting on the fence, wondering what the needles feel like or worrying that you’ll walk out looking completely frozen, I want to pull back the curtain. Here is exactly what you can expect when you walk through our doors at Elite MedAesthetic for your first appointment, and how we approach your unique features.
The Elite Philosophy: Undetectable, Natural Results
My personal injection philosophy is rooted in one strict rule: Keep it natural. The best injectable work is completely undetectable. I want your friends, family, and coworkers to look at you and say, “Wow, you look incredibly rested,” or “Your skin looks amazing,” not “Who does your Botox?”
We use neurotoxins like Botox and Dysport to temporarily relax the specific muscles that cause wrinkles, not to paralyze your entire face. You will still be able to smile, express surprise, and look like yourself—just a smoother, refreshed, and more youthful version of yourself. My goal is to honor your natural facial symmetry while softening the lines that make you look tired or stressed.
Step 1: The Consultation (And Why It’s Free)
I hear it all the time: “Bobby, I want to smooth my forehead, but I’m terrified I won’t be able to make facial expressions.” This is exactly why I offer 100% free, no-obligation consultations. I never want financial friction or fear to stand between you and accurate clinical education.
When you sit down in my chair for the first time, we aren’t rushing straight to the needles. We start with a comprehensive conversation. We will look at your facial anatomy together, discuss your aesthetic goals, and review your medical history. I will ask you to make a series of exaggerated facial expressions—frowning, raising your eyebrows, and smiling hard. This allows me to map out your dynamic muscle movements and see exactly where your skin creases.
Step 2: Mapping & Tailoring Your Dosage
Once we agree on a plan, we move to step two: calculating the math behind your treatment. One of the most common questions first-timers ask is, “How many units am I going to need?” The truth is, there is no one-size-fits-all answer because dosing is completely dependent on the specific areas you want treated, the strength of your facial muscles, and your unique anatomy. Here is a general breakdown of the most common areas we treat:
- The “11 Lines” (Glabella): This is the area between your eyebrows when you frown. Because these muscles are incredibly strong, it typically requires a solid baseline of units to smooth out the creasing safely.
- The Forehead: Horizontal forehead lines are treated with precision. We use a lighter touch here to ensure your eyebrows maintain their natural, beautiful arch without feeling heavy.
- Crow’s Feet: The delicate laugh lines around the outer edges of your eyes. Treating this area opens up the eyes and delivers an instant, refreshed brightness.
During your free consultation, I will give you an exact, transparent breakdown of the recommended dosage for your face so there are absolutely no surprises.
Step 3: The Treatment (What It Actually Feels Like)
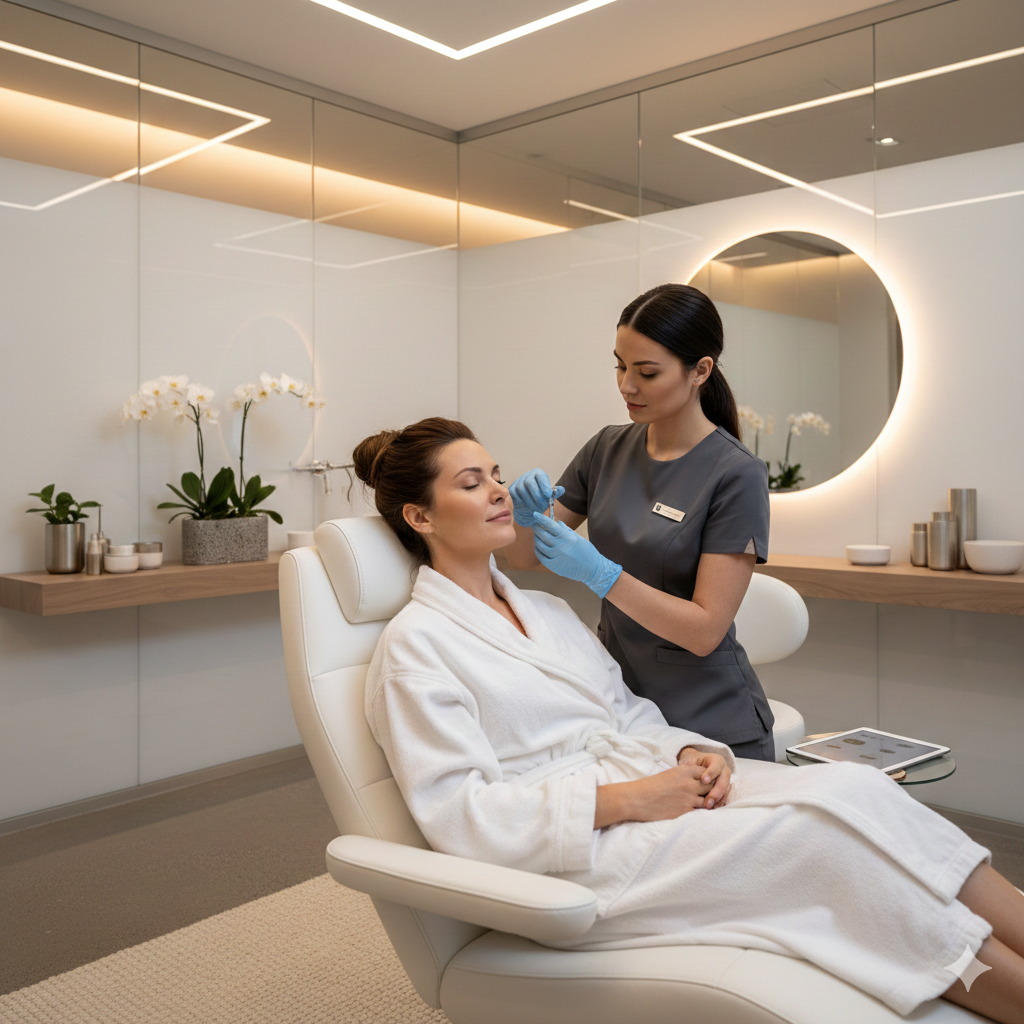
With our blueprint locked in, it is time for the actual treatment. If you are nervous about needles, I promise you are in good hands. Before we begin, we apply a medical-grade topical numbing cream to the treatment area. This completely takes the edge off, ensuring that you don’t have to worry about feeling the needle at all.
The injection process itself is incredibly fast, usually taking less than ten minutes. We use ultra-fine, medical-grade needles that are roughly the width of a human hair. Thanks to the numbing cream, most clients find the experience entirely comfortable and stress-free.
Directly after the injections, you might notice small, raised bumps at the injection sites that look like tiny mosquito bites. This is just the product settling into the muscle, and they completely disappear on their own within 15 to 20 minutes before you even finish your drive home.
Step 4: Aftercare & Watching the Glow Kick In
The appointment is over, but your skin is just getting started. Neurotoxins do not kick in instantly because it takes time for the product to gently interrupt the signals between your nerves and the targeted muscles.
For your aftercare, the rules are simple: keep your head upright for about four hours, avoid strenuous exercise or intense heat (like saunas) for the rest of the day, and don’t massage your face.
- If we choose Dysport, you will typically start to see the skin smooth out within 2 to 5 days.
- If we choose Botox, it generally takes about 5 to 7 days to start working.
For both products, the maximum, beautifully blended result locks in at exactly the 14-day mark. This is when the skin looks its smoothest and most radiant. Your results will typically last anywhere from 3 to 4 months, at which point the muscle gradually regains movement, and we can schedule a quick refresh.
Ready to Take the First Step?
Your first aesthetic treatment shouldn’t feel stressful. It should feel like a customized, luxury experience where you are listened to, protected, and cared for.
If you are ready to explore what Botox or Dysport can do for your confidence, book a free consultation with me here in Knoxville. Let’s sit down, look at the options, and build a natural-looking game plan tailored entirely to you.
